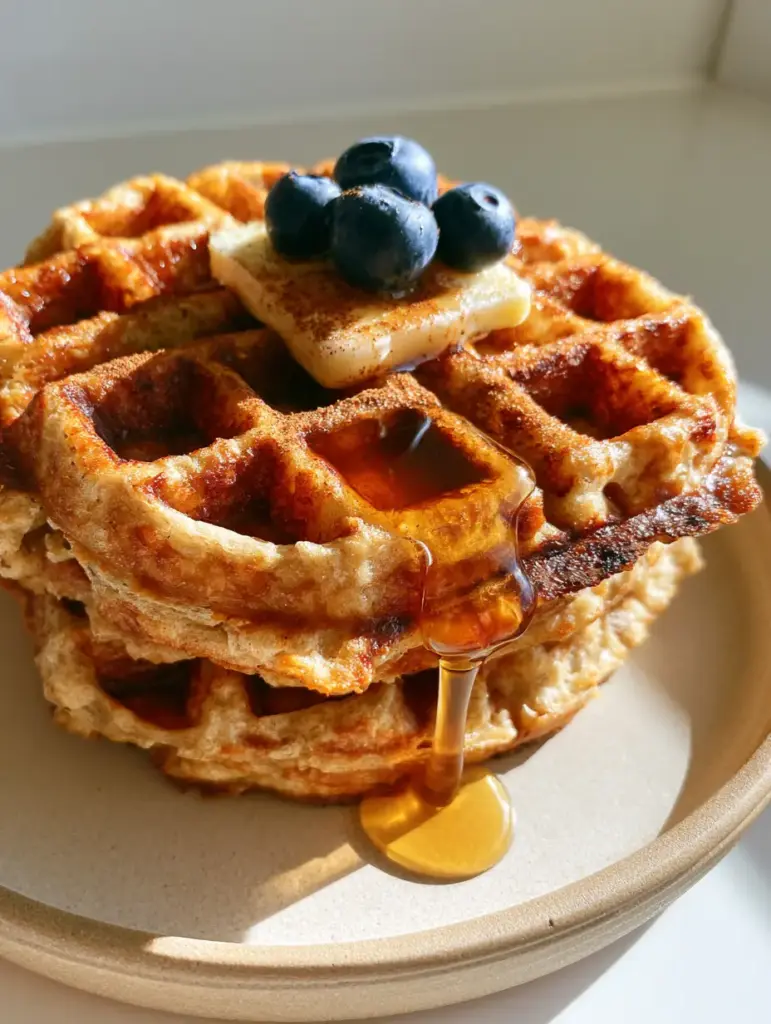
Imagine waking up to the soft, warm morning sunlight streaming through your kitchen window, illuminating a stack of the most perfect oat flour waffles you have ever seen. Wisps of steam rise from a thick, dark golden-brown stack, where deep honeycomb ridges wait to be filled with pools of amber sweetness. This isn’t just a dream; it is the reality of a recipe engineered for the perfect crunch and a light, airy interior.
Most gluten-free breakfast options fall into the trap of being either too dense or disappointingly gummy. These oat flour waffles shatter that reputation—literally—with a toasted exterior that shatters upon impact, revealing a non-gummy, cloud-like center that rivals any traditional wheat-based recipe. Whether you are a dedicated gluten-free eater or simply looking for a hearty, fiber-rich start to your day, this culinary blueprint delivers professional results every time.
The visual appeal is just as important as the flavor profile. A glistening, viscous amber maple syrup drizzle, caught mid-drip over the side of the stack, sets the stage for a gourmet experience. Topped with a thick square of salted butter melting into the center pockets, a fine dusting of cinnamon, and three plump, fresh organic blueberries, this dish is a masterclass in morning aesthetics.
Why These Crispy Oat Flour Waffles Are a Game Changer
- Unrivaled Texture: We use a specific ratio of oat flour to cornstarch to ensure a high-contrast crunch that avoids the common “gummy” pitfall of gluten-free baking.
- Rich Aromatic Profile: The combination of toasted oat notes and a generous dusting of ground cinnamon creates a sensory experience that fills your home with warmth.
- Deep Honeycomb Ridges: The batter consistency is optimized to fill every corner of your waffle iron, resulting in dark golden-brown edges and perfect syrup-trapping pockets.
- Whole Grain Satisfaction: Unlike refined flour recipes, these waffles provide sustained energy thanks to the complex carbohydrates found in organic oats.
The Anatomy of a Perfect Gluten-Free Waffle Batter
To achieve the “ultra-crispy” visual and structural result seen in our blueprint, we must look at the science of the ingredients. Oat flour behaves differently than wheat; it absorbs moisture more readily, which can lead to density if not handled with care. Here is what you will need for this masterpiece.
The Foundational Dry Ingredients
Certified Gluten-Free Oat Flour: 2 cups (240g). This is the backbone of our recipe, providing a nutty, toasted flavor and a sturdy structure that holds up under the weight of maple syrup.
Cornstarch or Arrowroot Powder: 1/4 cup (32g). This is the “secret” to the crunch; it interferes with the protein structure to ensure the ridges become brittle and golden rather than soft.
Baking Powder: 1 tbsp (12g). A significant amount is required to create the “airy texture inside” that contrasts so beautifully with the toasted edges.
Fine Sea Salt: 1/2 tsp (3g). Salt is essential to balance the sweetness of the amber maple syrup and to enhance the natural nuttiness of the oats.
Ground Cinnamon: 1 tsp (2g) plus extra for dusting. This provides the warm, spiced notes that complement the fresh blueberries and salted butter.
The Liquid Gold Emulsion
Whole Buttermilk: 1 ½ cups (360ml). The acidity in buttermilk reacts with the baking powder to create immediate lift, ensuring the waffles are never gummy.
Melted Unsalted Butter: 1/3 cup (75g). Fat is the vehicle for flavor and the key to achieving those high-contrast highlights on the waffle’s surface.
Large Eggs: 2 units. Eggs provide the structural protein needed to hold the honeycomb shape together as the steam wisps escape the iron.
Pure Vanilla Extract: 1 tsp (5ml). This adds a layer of floral sweetness that anchors the entire flavor profile.
Professional Equipment for the Best Results
To replicate the “handheld smartphone photo” look of professional social media food photography, your equipment must be up to the task. A high-quality Belgian waffle iron is non-negotiable for achieving those deep pockets and thick stacks.
You will also need a matte ceramic plate or neutral beige stoneware to serve. The neutral background emphasizes the rich, dark golden-brown tones of the waffles. A fine-mesh sieve is also helpful for achieving that perfect, even dusting of cinnamon over the final stack.
Step-by-Step Instructions to Golden Perfection
Phase 1: Preparing the Batter for Maximum Lift
In a large mixing bowl, whisk together the oat flour, cornstarch, baking powder, sea salt, and cinnamon. Ensure there are no clumps, as oat flour can sometimes settle; a uniform dry mix is the first step to an airy interior.
In a separate vessel, whisk the eggs vigorously before adding the buttermilk, melted butter, and vanilla. Slowly pour the wet ingredients into the dry, folding gently until just combined—over-mixing can lead to the very gumminess we are trying to avoid.
Phase 2: The Critical Rest Period
Allow the batter to rest for at least 10 minutes. During this time, the oat flour hydrates, and the leavening agents begin to create tiny air bubbles. This is the secret to moving from a “home cook” result to an “elite chef” result.
Phase 3: Searing for the Crunch
Preheat your waffle iron to its highest setting. A hot iron is vital for creating that immediate sear that results in toasted edges. Lightly brush the plates with oil, even if they are non-stick, to help the golden-brown color develop.
Pour the batter into the center and close the lid. Watch for the steam wisps; once the steam stops escaping the sides of the iron, it is a visual cue that the internal moisture has evaporated enough for the waffles to be crispy. Remove when they reach a deep, dark golden-brown hue.
Expert Tips for Ultra-Crispy Success
- The Oven Trick: If you are making a large batch, place a wire rack on a baking sheet in a 200°F (95°C) oven. Placing the waffles directly on the rack allows air to circulate, preventing the bottoms from becoming soggy while you finish the stack.
- Don’t Skimp on the Starch: If you find your waffles are too soft, increase the cornstarch by 1 tablespoon. This dries out the exterior for a more pronounced “crunch.”
- Check Your Leavening: Ensure your baking powder is fresh. Because oat flour is heavier than all-purpose flour, it needs maximum chemical lift to stay airy.
- Sizzle Cues: If the batter doesn’t sizzle the moment it hits the iron, your iron isn’t hot enough. Wait another two minutes before pouring your next waffle.
Serving the Aesthetic Masterpiece
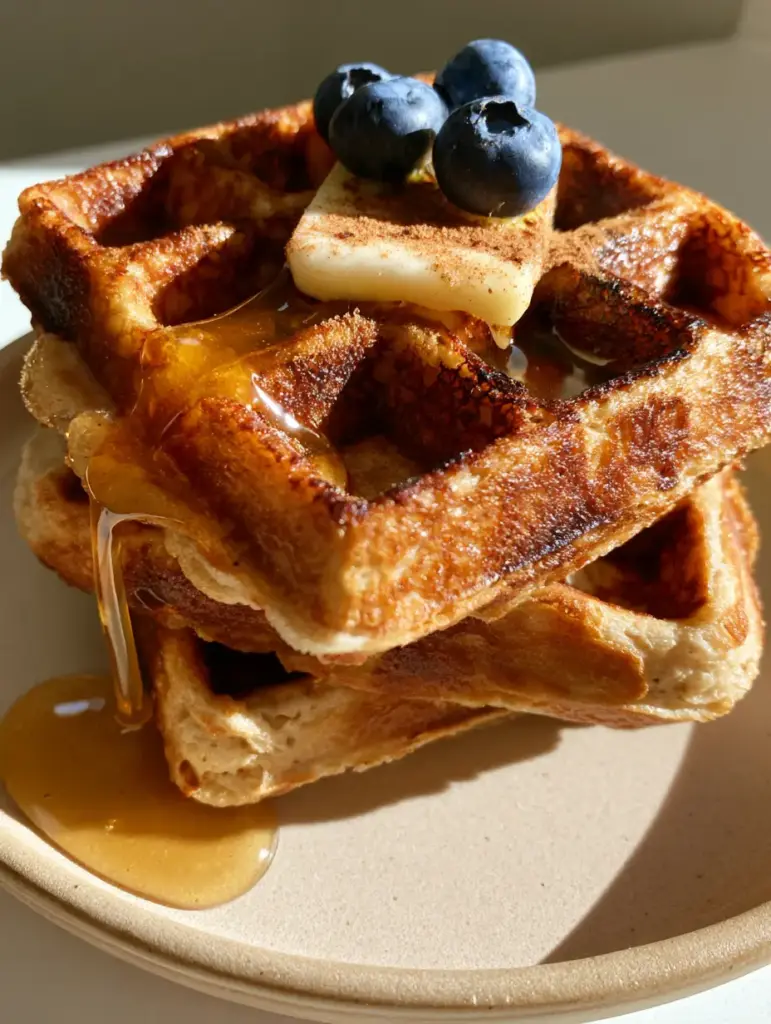
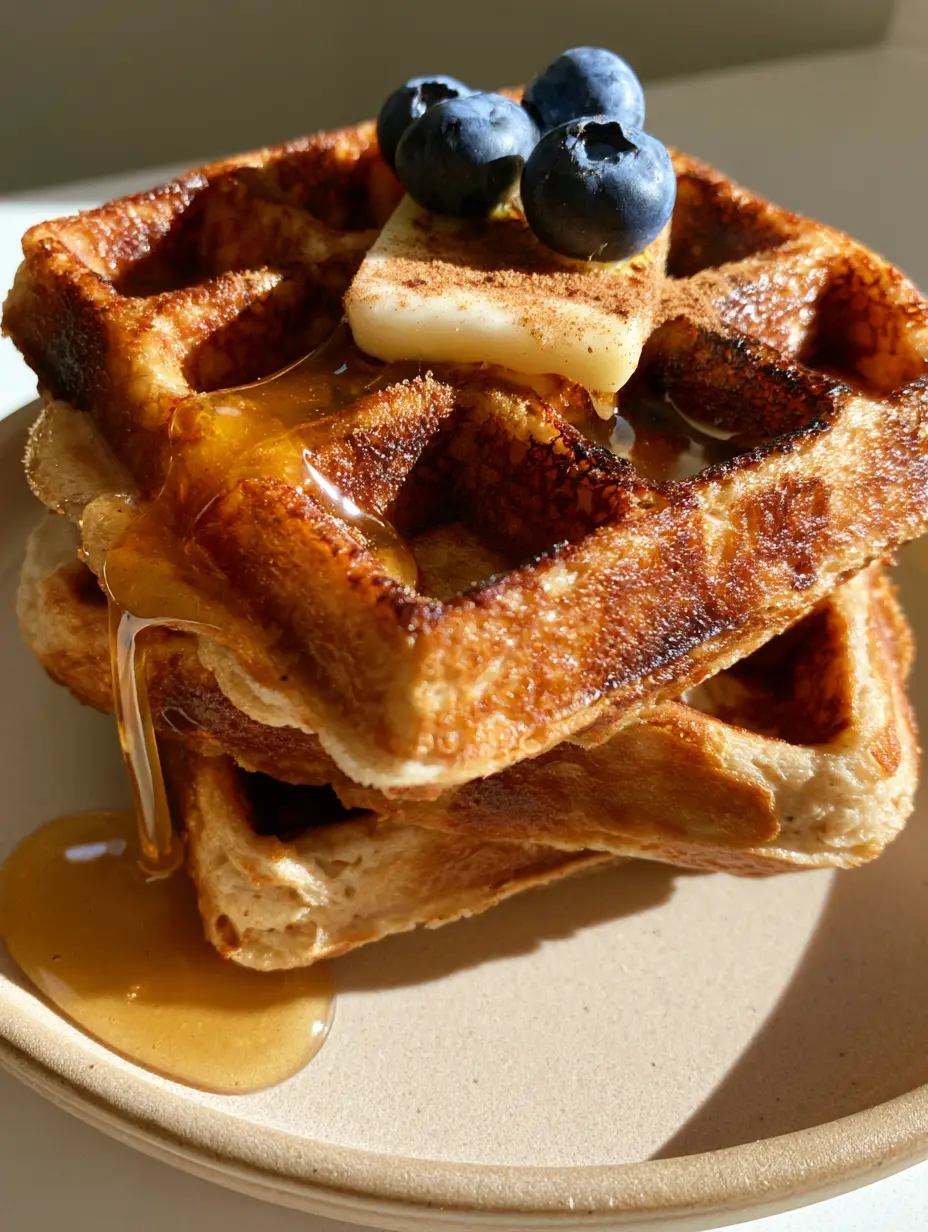
Place a stack of two thick waffles on your neutral stoneware plate. Immediately place a square of salted butter in the center so it begins to melt into the deep ridges. Drizzle the glistening, viscous amber maple syrup generously, aiming for that perfect “mid-drip” over the side.
Finish the dish by scattering exactly three fresh, plump blueberries on top and applying a final, light dusting of fine cinnamon. This combination of warm spiced notes, salty fat, and tart fruit creates a perfectly balanced palate.
What to Serve With Oat Flour Waffles
While these waffles are a star on their own, they pair beautifully with other breakfast staples. For a savory contrast, consider serving them alongside avocado toast with egg or some crispy bacon. If you are hosting a brunch, you might also offer fluffy banana muffins for a variety of textures.
If you enjoy the texture of these waffles, you will also love exploring our savory potato waffle recipe or even a sweet and spiced churro apple pie waffle for dessert. For a lighter side, a fresh blueberry spinach salad complements the fruit topping perfectly.
Frequently Asked Questions
Absolutely. Let them cool completely on a wire rack to prevent sogginess, then freeze in a single layer. Reheat in a toaster or toaster oven to regain that signature crispy texture.
Yes, you can pulse rolled oats in a high-speed blender until they reach a fine, flour-like consistency. However, ensure you measure by weight (240g) as homemade flour may be less dense than store-bought.
Yes, you can substitute buttermilk with a DIY version using almond milk and 1 tablespoon of lemon juice. Use melted coconut oil or a vegan butter alternative in place of the dairy butter.
High heat is key. Preheat your iron to its maximum setting. Additionally, replacing a small portion of flour with cornstarch and ensuring the steam has mostly stopped escaping before opening the iron will guarantee a toasted, crunchy exterior.
Gumminess usually occurs due to over-mixing or not including a starch like cornstarch. Allowing the batter to rest for 10 minutes helps the oats hydrate properly, and using buttermilk provides the necessary acidity for a light, airy rise.
The Ultimate Oat Flour Waffle Recipe
Oat Flour Waffles: The Ultimate Secret to Ultra-Crispy Gluten-Free Breakfasts
Ingredients
Equipment
Method
- Whisk oat flour, cornstarch, baking powder, salt, and 1 tsp cinnamon in a large bowl.
- In a separate bowl, whisk eggs, buttermilk, melted butter, and vanilla.
- Gently fold wet ingredients into dry. Let the batter rest for 10 minutes to hydrate the oats.
- Heat your Belgian waffle iron to high. Lightly grease if necessary.
- Pour batter and cook until steam stops escaping. Waffles should be dark golden-brown and crispy.
- Stack two waffles. Add a square of salted butter, a generous drizzle of maple syrup, a dusting of cinnamon, and three blueberries.
Notes
Avoid over-mixing the batter to maintain a light, airy texture.

Mastering the Art of the Gluten-Free Brunch
Achieving the perfect oat flour waffles is a rewarding experience that combines culinary science with visual artistry. The contrast between the ultra-crispy toasted edges and the light, airy interior makes these a favorite for any home cook looking to impress. By following these steps, you ensure a breakfast that is as nutritious as it is delicious.
We invite you to share your results and tag us in your photos! For more breakfast inspiration, be sure to follow Amber Apron on Pinterest. Don’t forget to leave a comment below with your favorite waffle toppings!