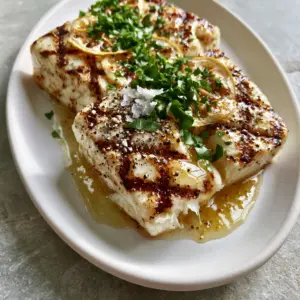
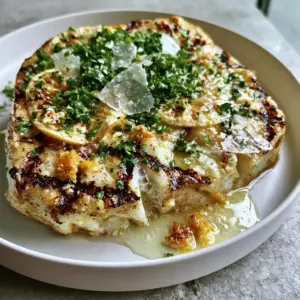
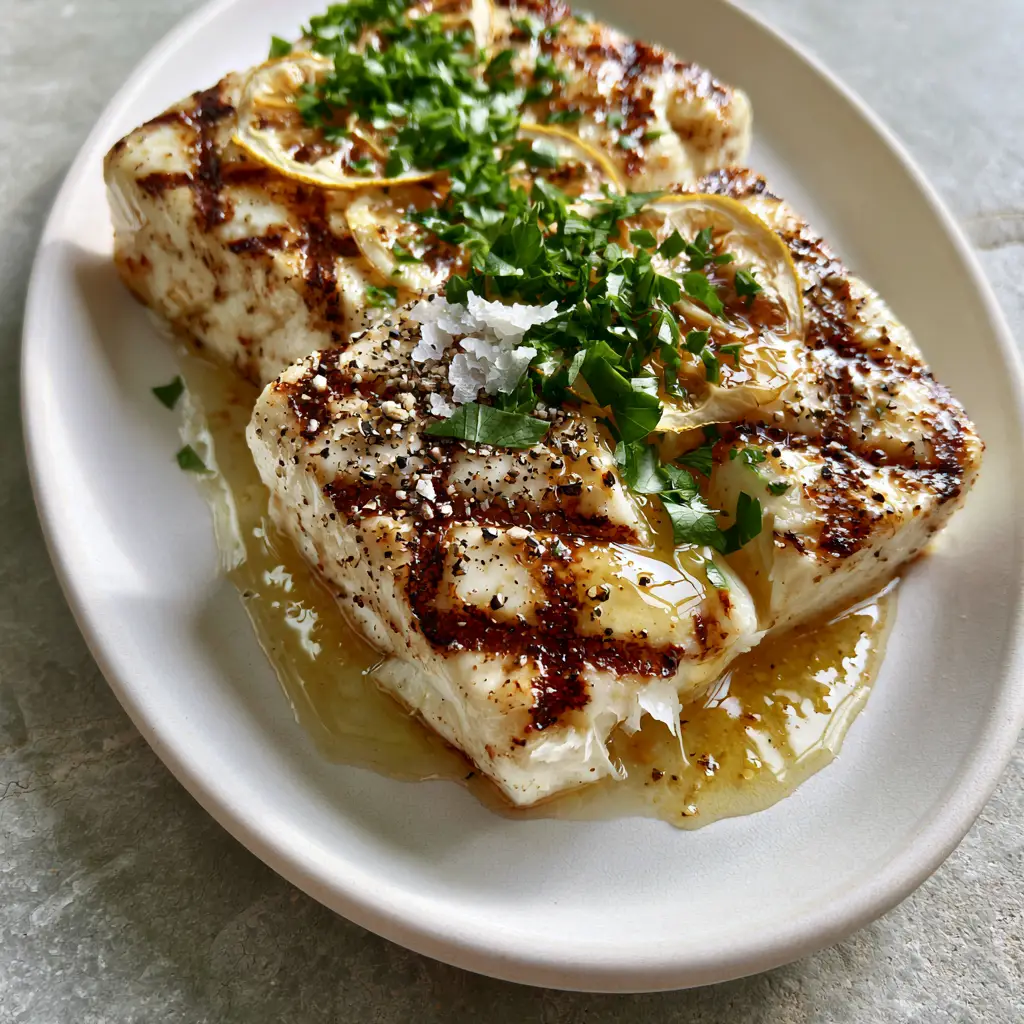
Grilled Halibut is the ultimate crown jewel of summer seafood. There is something truly magical about the way a thick, meaty halibut fillet transforms over an open flame, developing those iconic dark cross-hatch char marks while the interior remains incredibly moist and flaky. If you have been looking for a restaurant-quality meal that you can whip up in under 30 minutes, this glistening, buttery masterpiece is exactly what your dinner rotation needs.
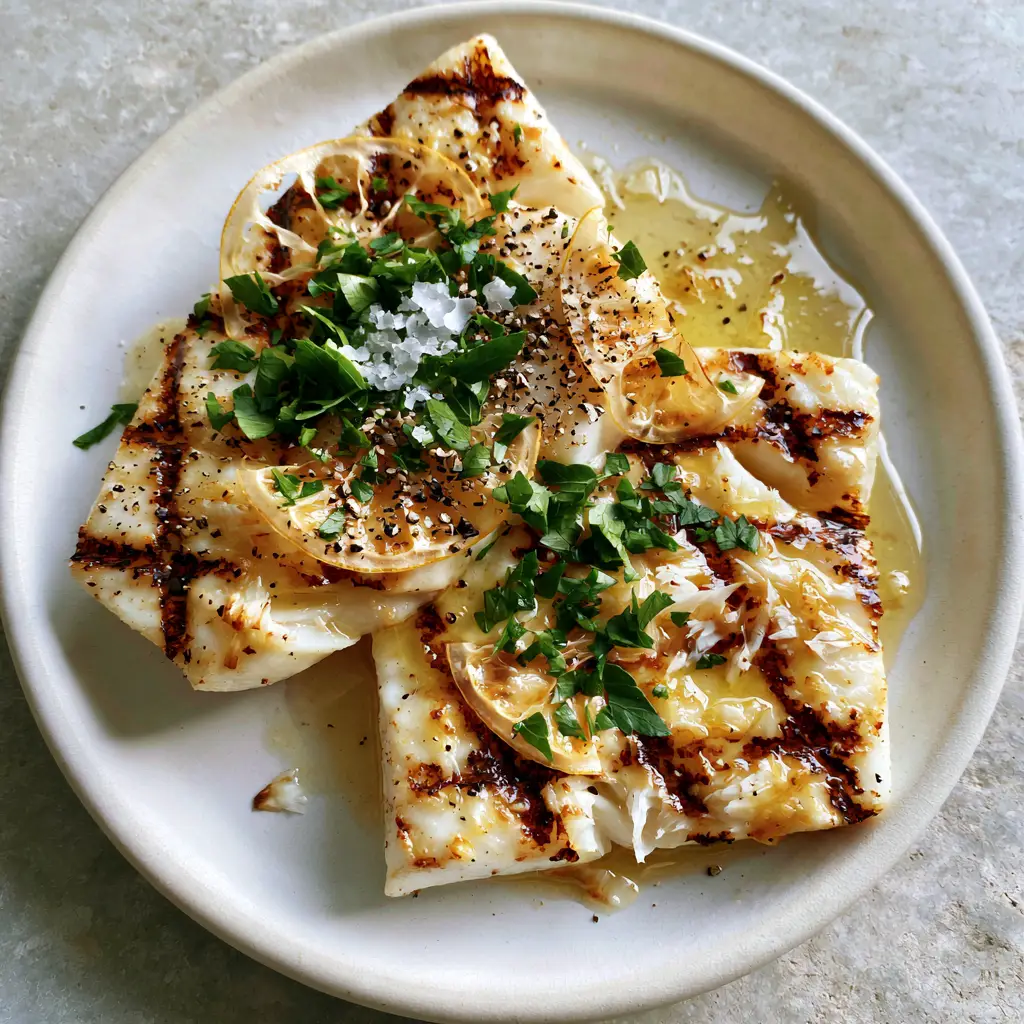
When you pull this Grilled Halibut off the grates, the aroma of toasted garlic and citrus fills the air. The contrast between the smoky, charred exterior and the translucent golden lemon-garlic butter sauce pooling in the crevices of the fish creates a visual and culinary experience that is hard to beat. Topped with paper-thin charred lemon slices and a vibrant scatter of fresh flat-leaf parsley, this dish looks like it stepped right out of a high-end coastal bistro.
Why This Grilled Halibut Recipe Works
- Visual Perfection: We utilize a specific high-heat technique to ensure deep, distinct dark brown cross-hatch grill marks every single time.
- Textural Contrast: The recipe achieves a crisp, smoky exterior that gives way to large, tender flakes of white meat.
- The Sauce Factor: A generous drizzle of melted translucent lemon-garlic butter adds richness without masking the delicate flavor of the fish.
- Pantry Staples: Aside from the fresh fish, you likely have every other ingredient—like flaky sea salt and cracked black pepper—already in your kitchen.
If you enjoy this preparation, you might also love our Baked Salmon or for a different twist on white fish, try our Baked Dijon Salmon.
The Essential Ingredients for Perfect Grilled Halibut
Halibut Fillets: You want thick-cut fillets, ideally 1.5 inches (3.8cm) thick. This thickness allows you to achieve a beautiful sear without overcooking the center.
High-Heat Oil: Use avocado oil or grapeseed oil for the grates. These have high smoke points, preventing the Grilled Halibut from sticking and ensuring those clean char marks.
Unsalted Butter: This forms the base of our lemon-garlic butter sauce. Using unsalted allows you to control the seasoning perfectly with your flaky sea salt.
Fresh Garlic: Three cloves, finely minced. The garlic should be gently sautéed until fragrant and translucent, never browned or bitter.
Fresh Lemons: We use lemon juice for the sauce and paper-thin slices to grill alongside the fish. The charred lemon slices add a concentrated, smoky acidity.
Flat-Leaf Parsley: Finely chopped fresh parsley adds a pop of color and a grassy freshness that cuts through the rich butter.
Seasoning: A simple but generous dusting of coarse flaky sea salt and freshly cracked black pepper is all you need to highlight the natural sweetness of the halibut.
How to Master the Perfect Grill Marks
The secret to Grilled Halibut that looks professional lies in temperature control and patience. Follow these steps to ensure your fish doesn’t stick and looks stunning on the plate.
Step 1: Prep the Fish for the Flame
Remove your halibut fillets from the refrigerator about 15 minutes before grilling. Use a paper towel to pat the fish completely dry on all sides. Moisture is the enemy of a good sear; if the fish is wet, it will steam rather than char. Coat the fillets lightly with oil and season aggressively with cracked black pepper and flaky sea salt.
Step 2: The Cross-Hatch Technique
Preheat your grill to medium-high heat (about 400°F / 200°C). Clean the grates thoroughly and oil them using a rolled-up paper towel dipped in oil. Place the halibut on the grates at a 45-degree angle to the bars. Do not touch the fish for 3-4 minutes. Once the fish releases easily, rotate it 90 degrees (still on the same side) and grill for another 2 minutes to create the dark cross-hatch char marks.
Step 3: Flawless Flipping
Flip the fish carefully using a thin metal spatula. At this stage, add your paper-thin lemon slices to the grill. They only need about 1-2 minutes per side to become charred lemon slices with beautiful caramelization. Cook the halibut on the second side until the internal temperature reaches 130°F-135°F (54°C-57°C) for a perfect medium-firm texture.
Step 4: The Glistening Butter Sauce
While the Grilled Halibut rests, melt 4 tablespoons (56g) of butter in a small saucepan over low heat. Add the minced garlic and cook for 1 minute until translucent and fragrant. Stir in 1 tablespoon (15ml) of fresh lemon juice. The sauce should be golden and shimmering.
For a complete meal, consider serving this alongside our Mexican Street Corn Salad or some authentic Esquites for a bright, summery side dish.
Expert Tips for Success
- The “Release” Rule: If you try to flip the fish and it feels stuck, wait. The halibut will naturally release from the grates once a proper crust has formed.
- Skin On or Off? You can grill with the skin on for easier handling, but for the aesthetic in our Visual Recipe Blueprint, skinless fillets allow the white meat to contrast beautifully with the char marks.
- Cold Butter Finishing: For an even creamier sauce, whisk in a few cubes of cold butter at the very end to emulsify the translucent golden lemon-garlic butter sauce.
- Check the Temp: Halibut goes from perfect to dry very quickly. Use an instant-read thermometer to pull the fish at 130°F (54°C); carry-over cooking will bring it to the ideal 140°F (60°C).
Storage, Reheating & Freezing
Storage: Place leftover Grilled Halibut in an airtight container in the refrigerator for up to 2 days. The butter sauce may solidify; simply gently reheat it until liquid.
Reheating: To avoid rubbery fish, reheat in a 275°F (135°C) oven with a splash of water or extra butter covered in foil until just warmed through.
Freezing: While possible, cooked halibut loses its delicate texture when frozen. We recommend enjoying this fresh off the grill for the best experience.
What to Serve With Grilled Halibut
This light yet indulgent fish pairs beautifully with vibrant, vegetable-forward sides. A crisp green salad, roasted asparagus, or even our Baked Cauliflower Steaks make excellent companions. If you’re looking for a hearty finish to your meal, a slice of Strawberry Shortcake Cupcakes is the perfect summer dessert.
Frequently Asked Questions
Yes, but you must thaw it completely in the refrigerator overnight and pat it exceptionally dry. Frozen fish tends to hold more moisture, which can hinder the formation of char marks.
Place the fish at a 45-degree angle to the grill bars. Cook for 3-4 minutes, then rotate the fillet 90 degrees while keeping it on the same side for another 2 minutes before flipping.
Start with a very clean, well-oiled grill. Most importantly, ensure your halibut fillets are patted completely dry and do not attempt to flip them until they naturally release from the grates.
For the juiciest results, pull the halibut off the grill when it reaches an internal temperature of 130°F to 135°F (54°C-57°C). It will continue to rise to the ideal 140°F (60°C) while resting.
The Ultimate Grilled Halibut Recipe
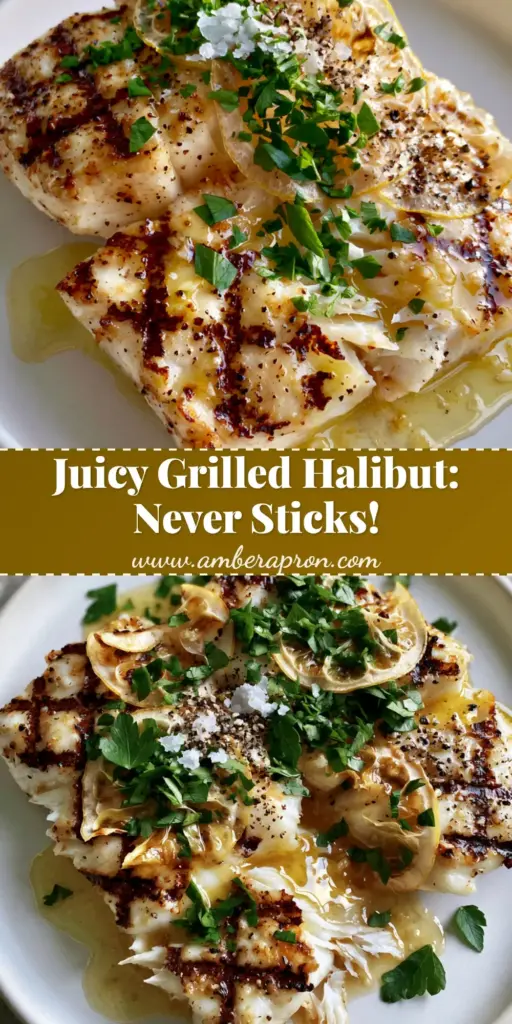
Grilled Halibut with Lemon Garlic Butter and Charred Lemon
Ingredients
Equipment
Method
- Pat the halibut fillets completely dry with paper towels. Rub with a little oil and season generously with flaky sea salt and cracked black pepper.
- Place fillets on oiled 400°F (200°C) grill grates at a 45-degree angle. Grill for 3-4 minutes undisturbed.
- Rotate the fillets 90 degrees and grill for 2 more minutes. Flip, add lemon slices to the grill, and cook for 2-3 minutes more until the fish reaches 130°F (54°C).
- Melt butter with garlic in a pan until translucent. Add lemon juice. Drizzle over the grilled halibut and top with charred lemon slices and parsley.
Notes
Ensure grill grates are smoking hot before adding the fish for the best marks.
Save This Recipe for Later!
Did you make these Grilled Halibut fillets? We want to see those perfect grill marks! Please save this recipe to your Pinterest boards so you never lose it. Follow amber_apron for more elite seafood recipes and restaurant-style meals at home. Don’t forget to leave a 5-star rating in the recipe card above and drop a photo of your finished dish in the comments below!