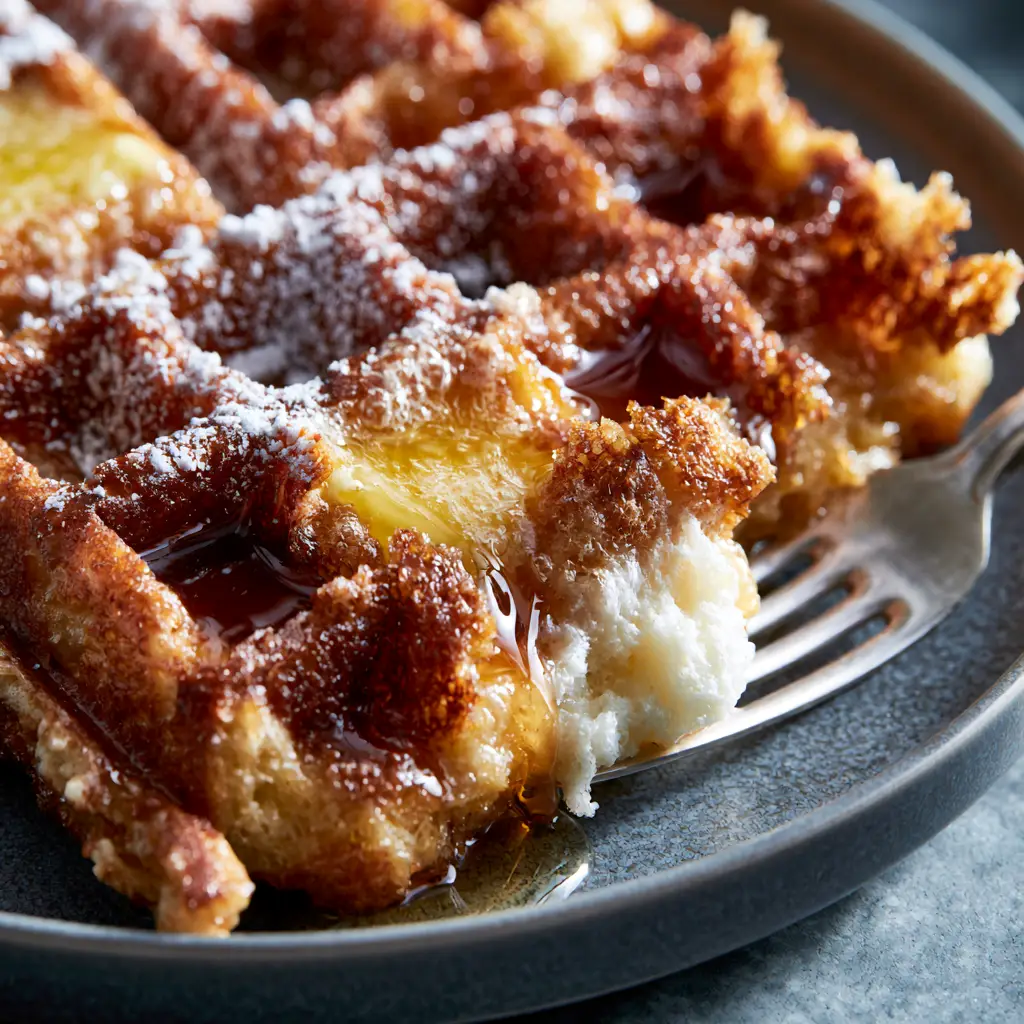
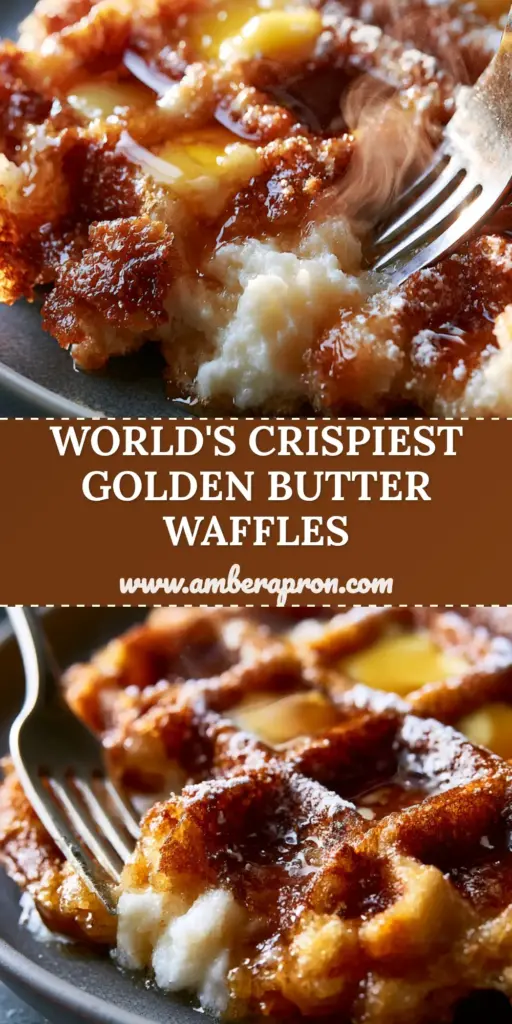
There is a specific, euphoric sound that defines a perfect morning: the audible “shatter” of a fork piercing the deep golden-brown crust of golden butter waffles. This isn’t just breakfast; it’s a structural masterpiece where architecture meets appetite.
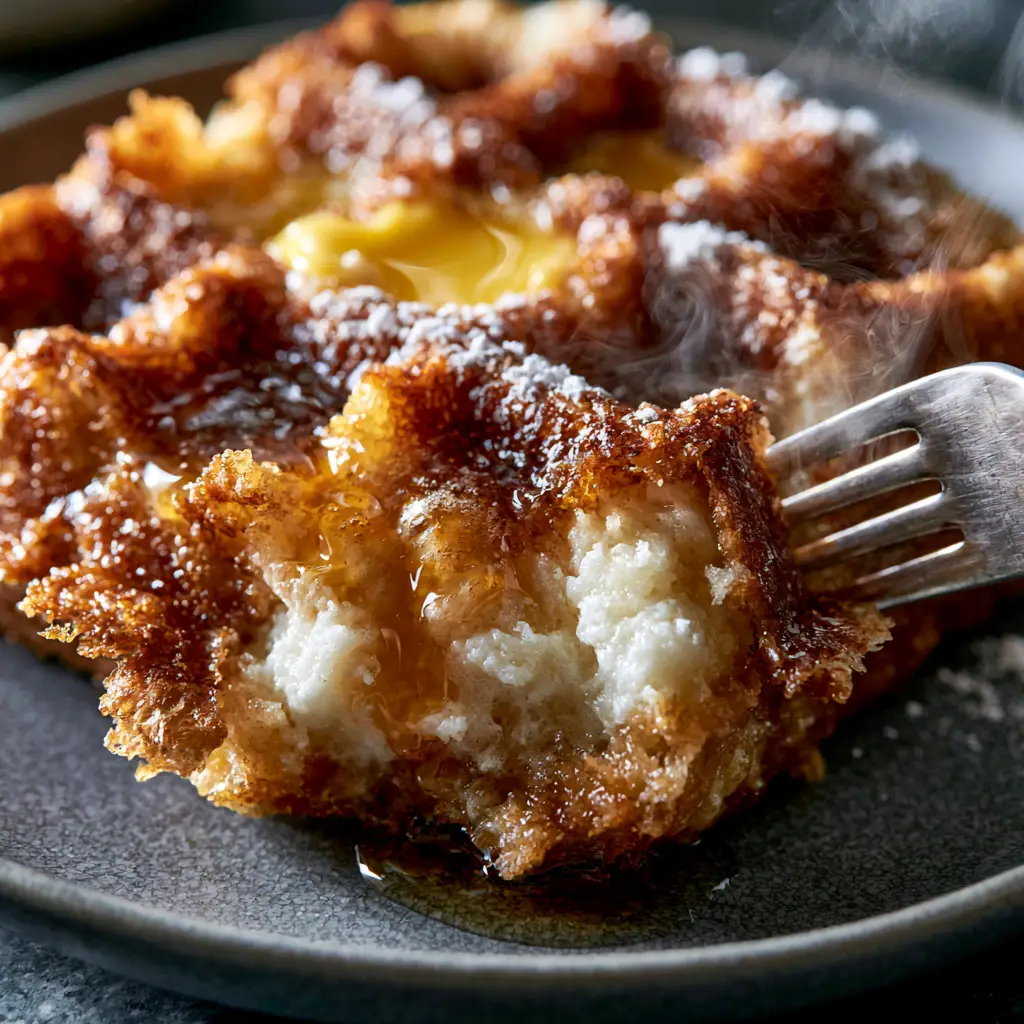
Imagine deep square pockets, precision-engineered to act as reservoirs for pools of melted salted butter and glistening amber maple syrup. As you press into the corner, a cloud of airy steam escapes, revealing a snow-white interior crumb that is as light as a summer cloud.
In this guide, we are going to master the science of the Belgian waffle. We’ll focus on the contrast between that high-heat sear and the delicate, moist center to recreate the exact handheld aesthetic of a professional food blog.
Why These Golden Butter Waffles Redefine Breakfast Excellence
- The Shatter Factor: A specialized ratio of cornstarch to flour ensures a crust that stays crispy even under a deluge of syrup.
- Snow-White Crumb: By folding in whipped egg whites, we achieve a high-contrast interior that stays fluffy and bright.
- Symphonic Flavor: The use of high-fat European-style salted butter creates a rich, savory counterpoint to the sweetness of the dusting of powdered sugar.
- Visual Perfection: Every pocket is designed to hold the maximum amount of “liquid gold” (syrup and butter) for that perfect macro-shot look.
The Anatomy of Ingredients for the Ultimate Belgian Texture
All-Purpose Flour & Cornstarch: The flour provides the structure, while the cornstarch weakens the gluten just enough to create that “shattered” crispy edge you see in the photos. 1 ½ cups (180g) of flour combined with ½ cup (60g) of cornstarch is the magic ratio.
Salted European Butter: Using 1/2 cup (115g) of melted salted butter provides a deeper yellow hue to the pockets and a sophisticated flavor profile. The salt in the butter balances the intense sweetness of the glistening amber maple syrup.
Separated Large Eggs: This is the secret to the snow-white, airy crumb. The yolks provide richness, while the whites, beaten to stiff peaks, provide the lift and the “steaming” interior texture.
Whole Milk & Pure Vanilla: 1 ¾ cups (420ml) of room-temperature milk ensures the batter doesn’t seize the melted butter. A heavy hand with 1 tbsp (15ml) of vanilla extract provides the aromatic “bakery smell” that fills your kitchen.
Baking Powder & Sugar: 1 tbsp (15g) of baking powder provides the immediate chemical lift, while 2 tbsp (25g) of granulated sugar aids in the caramelization, resulting in that deep golden-brown exterior.
Essential Tools for High-Contrast Waffle Success
To achieve those deep, cavernous pockets, a professional-grade Belgian Waffle Maker is non-negotiable. You’ll also need a high-quality whisk and a secondary bowl to beat your egg whites to the necessary stiff peaks.
A dark grey matte ceramic plate is the best choice for serving. The dark background makes the golden-brown waffle and the fine dusting of powdered sugar pop with high-contrast, morning side-light beauty.
The Step-by-Step Blueprint for Golden Perfection
Preparing the Dry Structural Base
In a large mixing bowl, whisk together the flour, cornstarch, baking powder, and granulated sugar. Whisking for at least 30 seconds aerates the mixture, contributing to the “snow-white” lightness of the interior crumb.
Emulsifying the Liquid Gold
Create a well in the center of your dry ingredients. Pour in the room-temperature milk, the melted salted butter, the egg yolks, and the vanilla extract. Whisk gently from the center outward until the batter is just combined; a few small lumps are perfectly fine for a tender result.
The Secret Whipping Technique
In a separate, spotlessly clean bowl, beat the egg whites until they form stiff, glossy peaks. This is the “airy steam” phase. Carefully fold these whites into your batter using a rubber spatula. You want to see white streaks in the batter—this ensures the interior stays fluffy and bright.
Achieving the Deep Golden-Brown Sear
Preheat your waffle iron to its highest setting. Lightly grease the plates, even if they are non-stick, to encourage that “shattered” crispy texture. Pour the batter in, allowing it to spread nearly to the edges. Close the lid and wait for the sensory cue: the steam should almost stop escaping before you open the iron.
Expert Tips for a Professional Food Blog Aesthetic
- The Steam Cue: Never open the waffle iron while heavy steam is still billowing out. The steam indicates the interior is still setting; opening too early will tear the snow-white crumb.
- The Sieve Trick: For a “fine dusting of powdered sugar” that looks caught in the air, use a fine-mesh sieve and tap it gently 6 inches above the waffle.
- Syrup Temperature: Warm your amber maple syrup slightly. Cold syrup will seize the melted butter, preventing those beautiful glistening pools in the pockets.
- Avoid Soggy Waffles: If you aren’t eating them immediately, place them on a wire rack. Stacking them on a plate creates trapped steam, which kills the “shattered” crispy edges.
Preserving the Crunch: Storage and Reheating
If you have leftovers, allow them to cool completely on a wire rack to maintain their structural integrity. Store them in an airtight bag in the refrigerator for up to 3 days or freeze them for up to 2 months.
To reheat and reclaim that crispy golden-brown exterior, use a toaster or a 350°F (175°C) oven for 5 minutes. Avoid the microwave, as it will turn your “shattered” edges into a chewy, rubbery mess.
Perfect Pairings for Your Golden Butter Waffles
While these waffles are a star on their own, they pair beautifully with other breakfast textures. For a protein boost, serve them alongside these protein-packed Greek yogurt waffles for a varied brunch spread.
If you are looking for a dessert-style twist, try alternating bites with these decadent chocolate almond waffles. For those who love a sweet and salty contrast, these waffles serve as a great palate cleanser after a spicy dinner like this authentic chicken gyro.
Frequently Asked Questions
You can mix the dry and wet ingredients (excluding egg whites) the night before. However, the whipped egg whites must be folded in just before cooking for the best lift.
You can, but salted butter provides a better flavor contrast against the maple syrup. If using unsalted, add an extra 1/4 teaspoon of fine sea salt to the dry ingredients.
The secret is adding cornstarch to your flour and ensuring your waffle iron is set to a high temperature. The cornstarch reduces gluten development, creating a shattered, crisp texture.
Never stack hot waffles on a plate. Place them in a single layer on a wire cooling rack so air can circulate, preventing steam from softening the crispy exterior.
Whipping the egg whites incorporates air into the batter, which creates the snow-white, fluffy interior and the steaming effect when the waffle is sliced open.
The Ultimate Golden Butter Waffles Recipe
Golden Butter Waffles: The Secret to Shattered Crispy Edges and a Fluffy Interior
Ingredients
Equipment
Method
- Whisk flour, cornstarch, baking powder, and sugar in a large bowl until aerated and combined.
- In a medium bowl, whisk milk, melted salted butter, egg yolks, and vanilla. Pour into the dry ingredients and stir until just combined.
- In a separate clean bowl, beat egg whites until stiff peaks form. Gently fold the whites into the batter, leaving some visible streaks to ensure a snow-white interior.
- Pour batter into a preheated, greased Belgian waffle iron. Cook until the steam dissipates and the exterior is a deep golden-brown with shattered crispy edges.
- Plate on a dark ceramic dish, top with a pat of salted butter, a glistening drizzle of amber maple syrup, and a fine dusting of powdered sugar.
Notes
Never stack hot waffles; use a wire rack to prevent them from steaming and losing their crunch.
Bring the Bakery Home
Mastering golden butter waffles is about respecting the contrast between the hot iron and the delicate batter. When you see that silver fork pressing into the corner and the steam rising from the snow-white center, you’ll know you’ve nailed the elite food blog aesthetic.
We would love to see your breakfast creations! Leave a comment below with your favorite toppings, and don’t forget to follow amber_apron on Pinterest for more culinary inspiration. If you enjoyed this, share your photos and tag us!