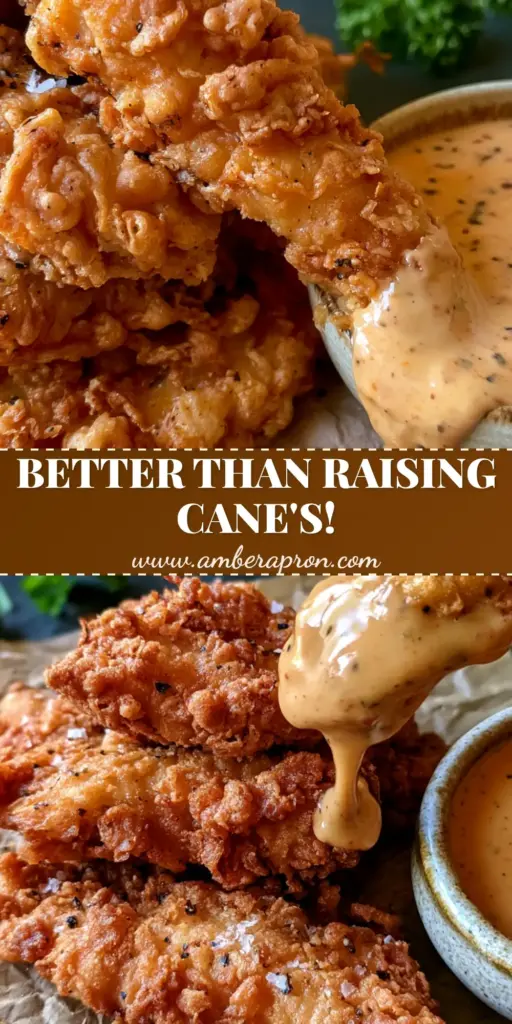
Finding the perfect chicken tenders recipe is the culinary equivalent of finding the Holy Grail. We aren’t looking for standard, flat breading; we are chasing those massive, deep golden-brown craggy nooks and crannies that catch every drop of sauce. This recipe delivers a professional, restaurant-style crunch that shatters with every bite, revealing juicy, tender chicken inside.
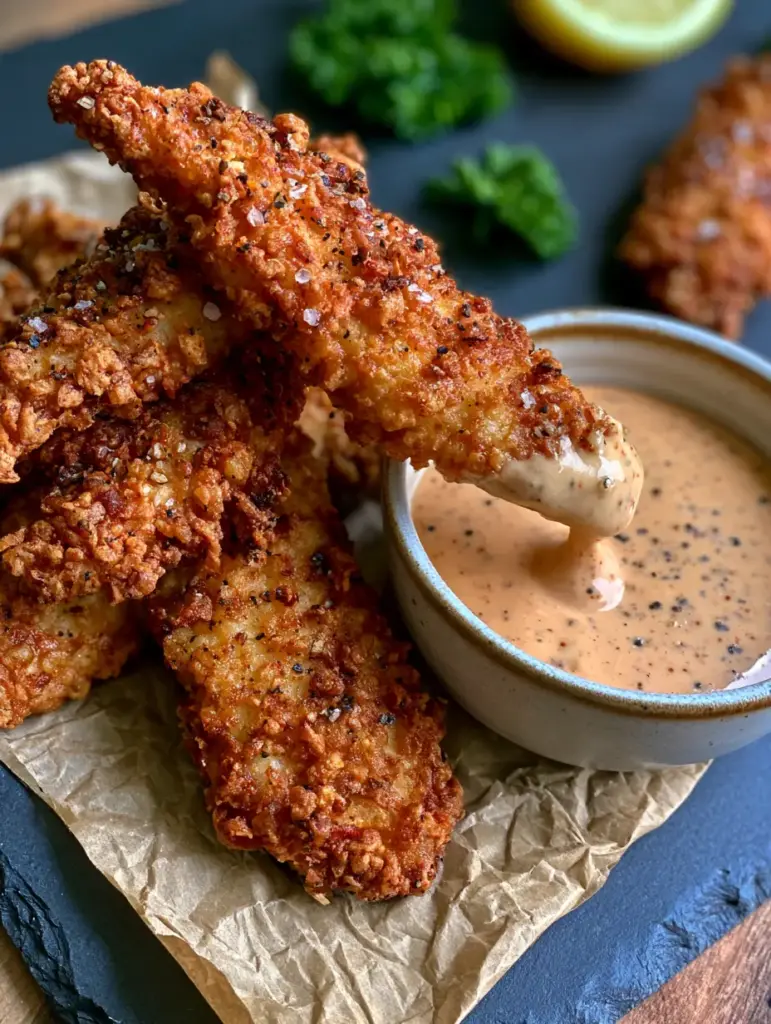
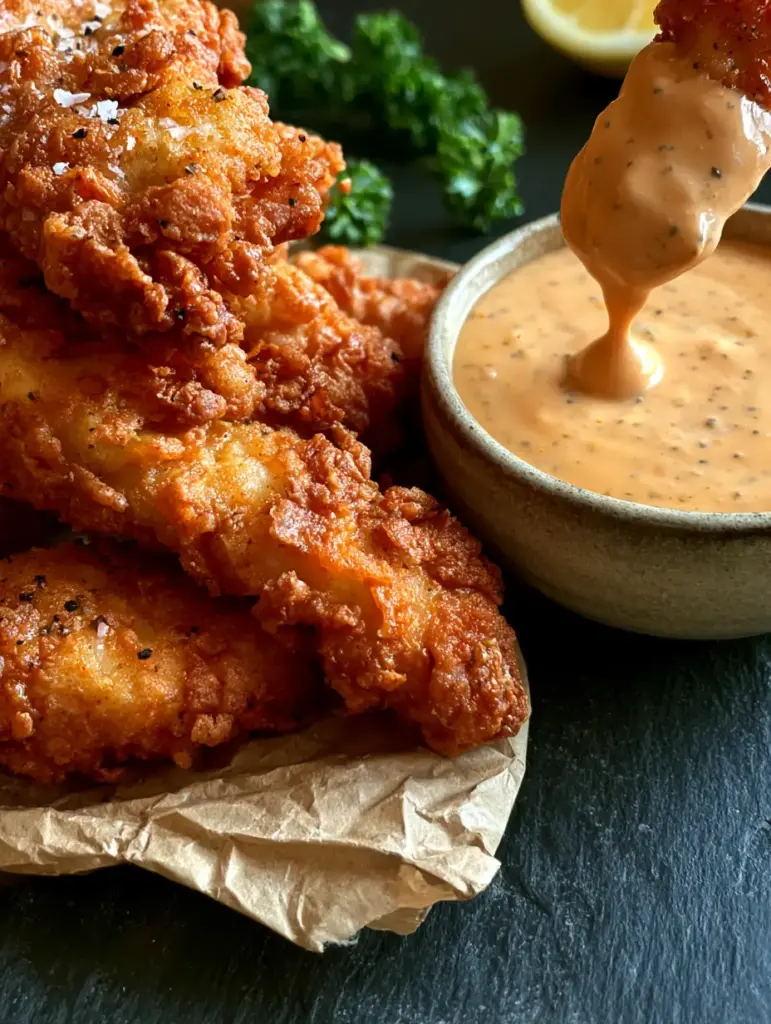
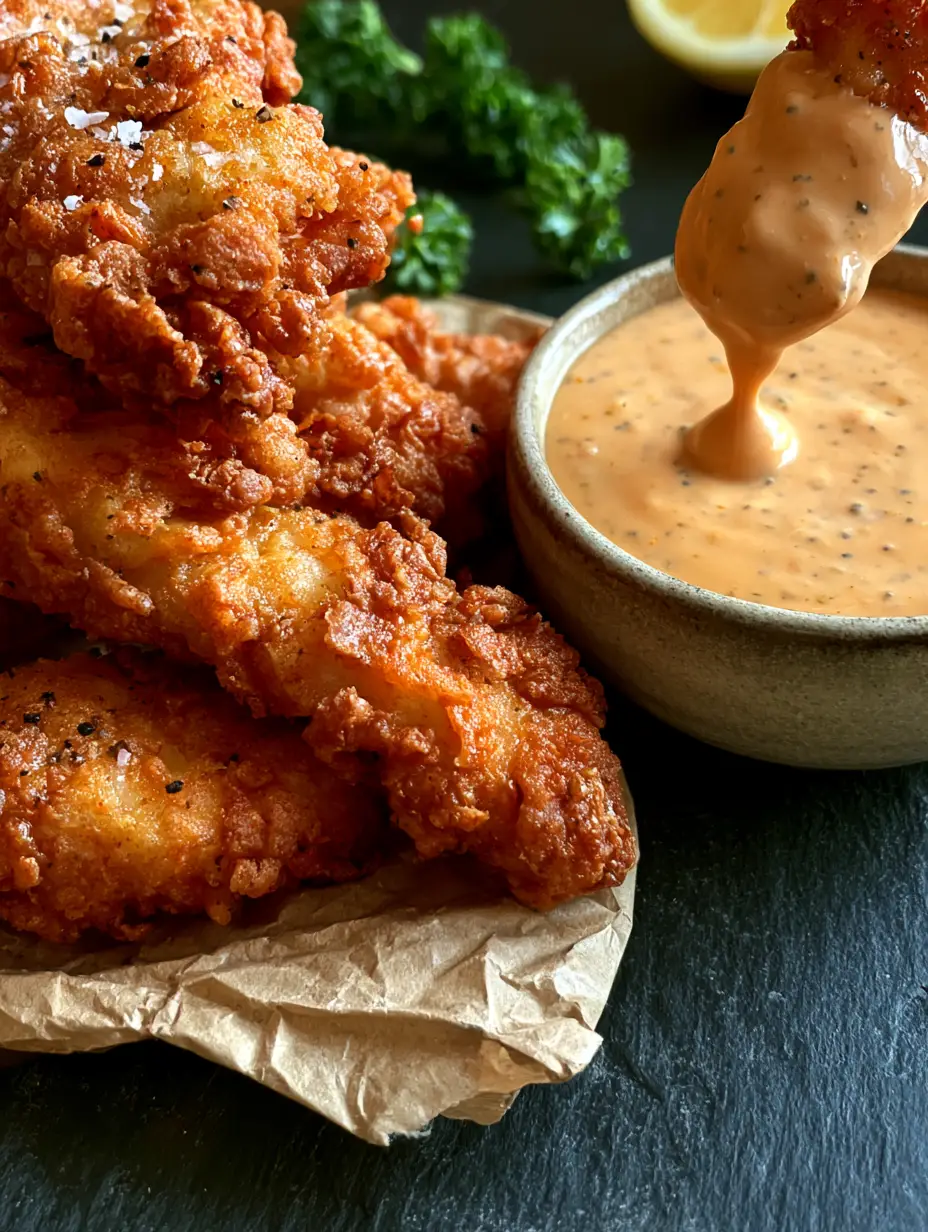
The secret lies in the forensic details: the double-dredging technique, the lactic acid in the buttermilk, and the science of the flour “clumps.” When you pull these from the hot oil, the visible flakes of black pepper and sea salt against the dark slate tray create a visual masterpiece. Whether you are hosting a game day or a family dinner, this is the definitive version you will return to again and again.
The Science of the Perfect Shatter-Crisp Crust
- Double-Dredge Architecture: By dipping the chicken twice, we build structural layers of breading that stand up to the heat of the oil without falling off.
- Lactic Acid Tenderization: The buttermilk bath isn’t just for flavor; it breaks down protein fibers, ensuring the meat stays succulent while the exterior crisps.
- The “Clump” Factor: We purposely add a few tablespoons of the buttermilk marinade into the dry flour mix to create those signature craggy ridges seen in the visual blueprint.
- Visual Indicators: We look for a deep golden-brown hue and ridges that hold highlights under natural light, just like a professional food photograph.
The Essential Components for Ultra-Craggy Breading
Chicken Tenders (Tenderloins): Approximately 1.5 lbs (680g) of fresh chicken tenderloins. These are the small, pectoralis minor muscles that are naturally more tender than the breast meat.
Full-Fat Buttermilk: 2 cups (480ml) of cultured buttermilk. The thickness helps the flour adhere, while the acidity acts as a gentle brine for the poultry.
All-Purpose Flour: 3 cups (375g) of flour provides the structural base for the crust. It absorbs the moisture from the chicken to form a gluten-linked shell.
Cornstarch: 1/2 cup (64g) of cornstarch is the secret to a lighter, airier crunch. It interferes with gluten development, preventing the breading from becoming tough or chewy.
Spices & Seasoning: A blend of 1 tbsp (18g) sea salt, 2 tsp (10g) coarse black pepper, 1 tbsp (8g) paprika, and 1 tsp (3g) garlic powder. The coarse pepper is vital for the visual “flecked” appearance of the final tenders.
High Smoke-Point Oil: 1 quart (946ml) of peanut or canola oil. You need an oil that can withstand 350°F (175°C) without breaking down or imparting off-flavors.
Creamy Orange Peppercorn Sauce: A base of 1/2 cup (120g) mayonnaise, 1 tbsp (15g) Dijon mustard, 2 tsp (10ml) hot sauce for the orange tint, and 1 tsp (5g) cracked black peppercorns.
Must-Have Tools for Deep-Frying Excellence
To achieve the results shown on the dark slate tray, you will need a heavy-bottomed vessel like a Dutch oven. This retains heat better than a thin pan, preventing the oil temperature from crashing when the chicken is added.
A digital meat thermometer is non-negotiable for safety and precision. You should also have a wire cooling rack set over a baking sheet; placing hot tenders directly on paper towels can trap steam and lead to a soggy bottom.
Step-by-Step Instructions for the Perfect Chicken Tenders Recipe
Phase 1: The Buttermilk Marinade
In a large glass bowl, whisk together the buttermilk, 1 tsp (5g) of salt, and a dash of hot sauce. Submerge the chicken tenderloins completely, ensuring no edges are exposed to the air.
Cover the bowl with plastic wrap and refrigerate for at least 30 minutes, though 4 hours is ideal. This time allows the buttermilk to penetrate the fibers, ensuring your chicken tenders recipe results in moist meat every time.
Phase 2: Building the Dry Dredge
In a wide, shallow dish, whisk together the flour, cornstarch, and the remaining spices. This is where the visual magic happens: the coarse black pepper should be clearly visible in the white powder.
Drizzle 2-3 tablespoons (30-45ml) of the buttermilk marinade into the flour mixture. Use a fork to toss the flour until small, pea-sized clumps form throughout; these clumps will become the “craggy nooks and crannies” on the chicken.
Phase 3: The Double-Dredge Technique
Remove a tender from the buttermilk, letting the excess drip off. Dredge it in the flour, pressing firmly to adhere the clumps, then dip it back into the buttermilk briefly.
Return the chicken to the flour for a second coating, squeezing the flour mixture onto the meat to create a thick, textured surface. Set the prepared tenders on a piece of brown parchment paper for 5 minutes before frying to let the coating “set.”
Phase 4: Precision Frying
Heat your oil to exactly 350°F (175°C). Carefully lower 3-4 tenders into the oil, being careful not to crowd the pot, which would cause the temperature to drop and the breading to become greasy.
Fry for 5-6 minutes, turning once, until the exterior is a deep, resonant golden-brown. Listen for the sound of the bubbling—it will slow down as the moisture in the crust evaporates, signaling the perfect level of crispness.
Expert Tips for Success
- Oil Temperature Management: Always allow the oil to return to 350°F (175°C) between batches. If you fry in oil that is too cool, the breading will absorb the fat instead of crisping.
- Seasoning While Hot: As soon as the tenders come out of the oil, sprinkle them with a final pinch of flaky sea salt. The residual heat helps the salt crystals stick to the crust.
- The Sauce Drip: To get that perfect orange peppercorn sauce consistency, whisk the ingredients until completely smooth. If it’s too thick, add a teaspoon of lemon juice to thin it out.
- Avoid Overcrowding: Frying too many pieces at once leads to “steaming” rather than frying, which ruins the craggy texture we worked so hard to build.
What to Serve With This Dish
For a complete comfort food experience, pair these tenders with a crispy potato waffle. The savory ridges of the waffle complement the craggy texture of the chicken perfectly.
If you’re looking for something lighter to balance the richness of the fried chicken, consider a chickpea and spinach salad. The acidity of the feta and the freshness of the greens cut through the savory fat of the tenders.
For those who love a bit of heat, you can brush the finished strips with a glaze similar to our hot honey chicken to add a sweet and spicy dimension to the crunch.
Storing and Reheating for Maximum Crunch
Store leftovers in an airtight container in the refrigerator for up to 3 days. To maintain the integrity of the breading, avoid the microwave, which will make the crust rubbery.
To reheat, place the tenders on a wire rack in a 375°F (190°C) oven for 8-10 minutes. This allows the hot air to circulate around the “nooks and crannies,” restoring that initial crunch without drying out the chicken.
Frequently Asked Questions
Yes, though the ‘craggy’ texture won’t be quite as pronounced. Spritz the tenders heavily with oil spray and cook at 400°F (200°C) for 12-15 minutes, flipping halfway through.
Drizzle 2-3 tablespoons of your buttermilk marinade into the dry flour mixture and toss with a fork. This creates small clumps that stick to the chicken, forming those extra-crispy ridges during frying.
Place the fried tenders on a wire cooling rack rather than directly on paper towels. This allows air to circulate around the entire tender, preventing steam from making the bottom of the breading soggy.
Peanut oil is the gold standard due to its high smoke point and neutral flavor. Canola or vegetable oil are excellent, budget-friendly alternatives that also handle high heat well.
Breading usually falls off because the chicken was too wet before dredging or the oil wasn’t hot enough. Ensuring you use the double-dredge method and letting the breaded chicken ‘set’ for 5 minutes before frying helps the coating bond to the meat.
The Ultimate Chicken Tenders Recipe
Chicken Tenders Recipe: The Ultimate Ultra-Craggy Buttermilk Crunch
Ingredients
Equipment
Method
- Submerge chicken in buttermilk and salt for at least 30 minutes in the refrigerator.
- Whisk flour, cornstarch, pepper, and spices. Drizzle a little buttermilk into the flour to create craggy clumps.
- Dip chicken in flour, then buttermilk, then flour again, pressing to adhere the clumps.
- Fry in 350°F (175°C) oil for 5-6 minutes until deep golden-brown.
- Drain on a rack, sprinkle with sea salt, and garnish with fresh curly parsley.
Notes
Double-dredging is key for the restaurant-style craggy crust.
Final Thoughts on Mastering the Crunch
Mastering this chicken tenders recipe is all about respecting the process of the double-dredge. The visual cues—the deep golden color, the visible black pepper, and the fresh parsley garnish—are indicators of a dish made with technical precision. When served on a dark slate tray with that creamy orange sauce, it’s as much a feast for the eyes as it is for the palate.
We would love to see your results! Leave a comment below or share your photos on Pinterest and tag us. For more poultry inspiration, check out our guide on spicy honey chicken strips or explore our paleo-friendly dinner ideas for healthier alternatives.