There is nothing quite like the allure of thin and chewy chocolate chip cookies that strike the perfect balance between a flexible, buttery center and crispy, lacey edges. If you have been searching for that elusive “pan-banging” texture characterized by concentric circular ripples and deep melted dark chocolate pools, you have arrived at the definitive guide. These cookies aren’t just a treat; they are a masterclass in sugar caramelization and texture contrast, finished with a sophisticated sprinkle of flaky sea salt.
Every bite of these thin and chewy chocolate chip cookies offers a complex flavor profile, thanks to the addition of toasted brown butter flecks that provide a nutty undertone. Whether you are a fan of copycat Subway cookies or you prefer the intense richness of brownie cookies, this recipe bridges the gap between a classic bakery staple and a gourmet dessert. Get ready to transform your kitchen into a professional pâtisserie with this highly-visual, ad-optimized guide.
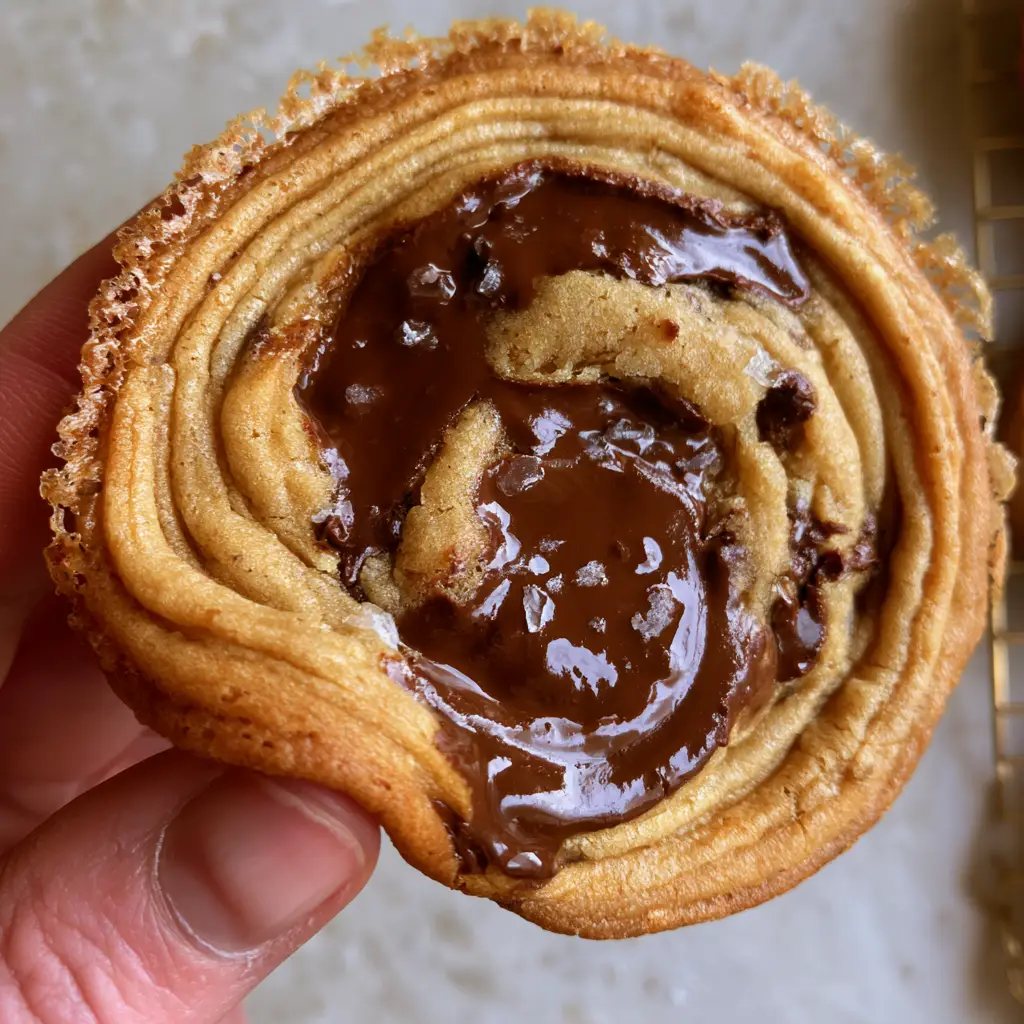
Why You Will Crave These Rippled Chocolate Chip Cookies
- The Texture: An ultra-thin, golden-brown base that is flexible enough to bend between two fingers without snapping.
- The Visuals: Stunning concentric circular ripples created through a specialized baking technique.
- The Chocolate: Glossy, liquid pools of melted dark chocolate that stay soft even after cooling.
- The Finish: A delicate garnish of flaky sea salt that cuts through the richness of the toasted brown butter.
- The Edges: Thin, lacey, and golden-brown for a satisfying buttery crunch in every mouthful.
The Essential Pantry for Ultimate Cookie Texture
To achieve the specific architecture of thin and chewy chocolate chip cookies, every ingredient serves a scientific purpose. We aren’t just mixing dough; we are engineering a specific spread-to-rise ratio.
Unsalted Butter: 1 cup (225g). We will transform this into brown butter to add depth and “toasted flecks” to the dough. Using melted butter is the secret to a chewier, thinner cookie compared to creaming cold butter.
Granulated Sugar: ¾ cup (150g). This provides the structural crispness and the lacey edges we desire. If you’re looking for a variation, you might compare this to a chocolate chip cookie with no brown sugar, but here, white sugar is vital for the spread.
Light Brown Sugar: ¾ cup (150g), packed. The molasses in brown sugar is hygroscopic, meaning it pulls in moisture to ensure the center stays soft and bendable. For a deeper flavor, you could even try brown sugar cinnamon cookies techniques here.
Large Egg: 1 (50g) at room temperature. The binder that provides just enough structure without making the cookie cakey.
Vanilla Bean Paste or Extract: 2 teaspoons (10ml). Paste is preferred to see those beautiful tiny bean specks alongside the brown butter flecks.
All-Purpose Flour: 1 ½ cups (190g). A lower flour-to-fat ratio is what creates the “thin” profile of these thin and chewy chocolate chip cookies.
Baking Soda: ¾ teaspoon (4g). This encourages browning (the Maillard reaction) and helps the cookies spread across the pan.
Kosher Salt: ½ teaspoon (3g) for the dough, plus Flaky Sea Salt for garnishing the liquid chocolate pools.
Dark Chocolate Bars: 6 ounces (170g), roughly chopped. Using chopped bars instead of chips is non-negotiable for creating those glossy, liquid pools of chocolate seen in professional food photography.
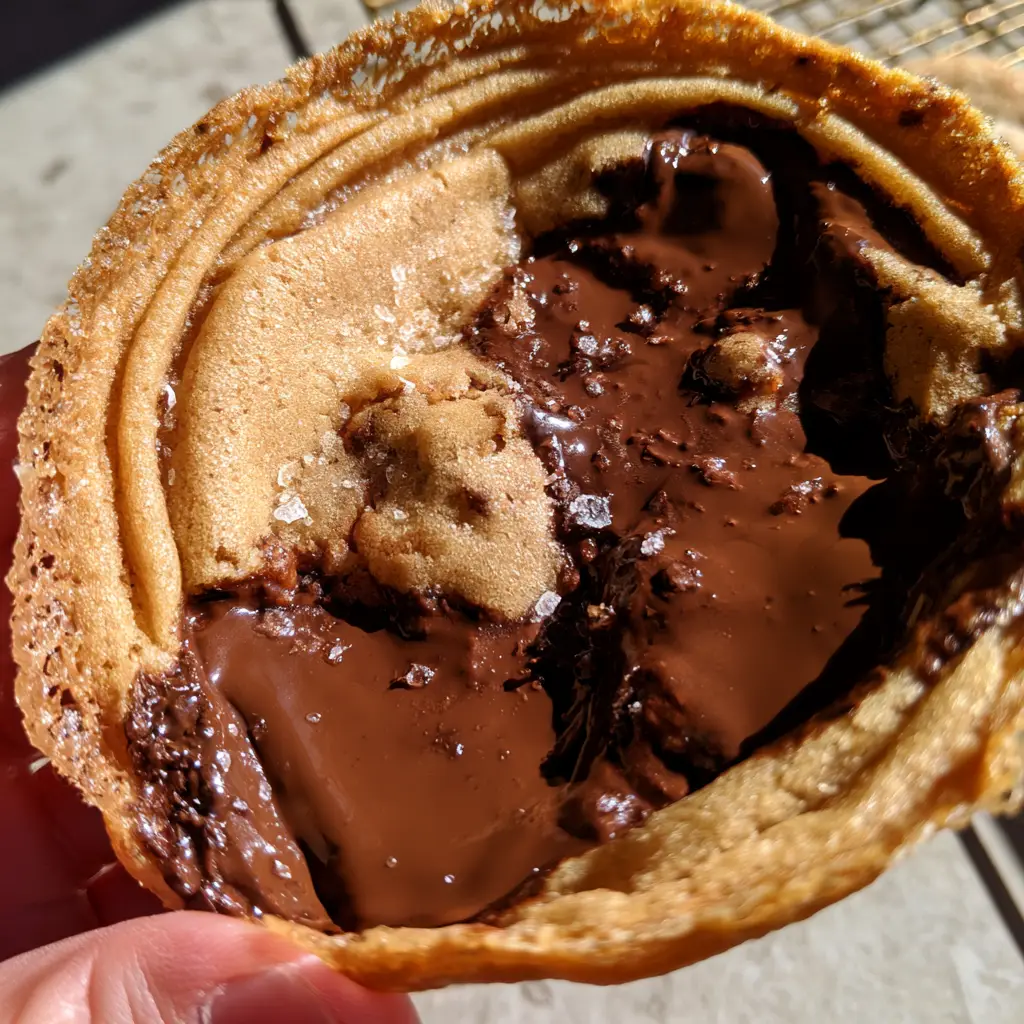
How to Achieve the Perfect Ripple and Chew
Step 1: The Art of Toasting Brown Butter
In a small saucepan over medium heat, melt the 1 cup (225g) of butter. Continue cooking, swirling the pan occasionally. The butter will foam, then turn clear, and finally begin to brown.
Watch for the toasted brown butter flecks at the bottom of the pan. Once it smells nutty and looks like amber, remove from heat immediately. Pour into a large bowl, ensuring you scrape all those flavorful toasted bits out. Let it cool for 10 minutes.
Step 2: Building the Flavor Base
Add the granulated sugar and brown sugar to the cooled brown butter. Whisk vigorously for 2 minutes. You will notice the mixture becomes glossy and smooth. Add the egg and vanilla, whisking again until fully emulsified.
If you enjoy experimenting with different bases, you might find similarities in the moisture profile of oatmeal chocolate chip cookies, but today we are focusing on a smooth, refined flour base.
Step 3: Folding the Dry Ingredients
Sift the all-purpose flour, baking soda, and kosher salt into the wet ingredients. Use a rubber spatula to fold the mixture until just a few streaks of flour remain. Do not overmix, as this develops gluten and will make the cookies tough rather than chewy.
Fold in the chopped dark chocolate. You want large chunks that will melt into liquid pools, not tiny fragments.
Step 4: The Chill and Scoop
For the best thin and chewy chocolate chip cookies, chill the dough for at least 30 minutes. This allows the flour to hydrate and prevents the cookies from spreading too much into one giant sheet.
Scoop 2-tablespoon (roughly 40g) balls of dough onto a parchment-lined baking sheet, spacing them at least 3 inches apart. These cookies spread significantly!
Step 5: The Secret “Pan-Banging” Technique
Preheat your oven to 350°F (175°C). Place the tray in the oven. After 8 minutes, the cookies will have begun to puff up in the center. Lift the side of the baking sheet up about 4 inches and drop it firmly back onto the oven rack.
This causes the center to collapse and pushes the dough to the edges, creating the first concentric circular ripple. Repeat this every 2 minutes for the remainder of the bake time (about 12-14 minutes total) until the edges are dark golden brown and lacey.
Expert Tips for Success
- Use a Digital Scale: For cookies this thin, a few extra grams of flour can change the texture from chewy to cakey. Always use Metric (grams) if possible.
- The Chocolate Matters: Avoid standard chocolate chips which contain stabilizers. Use a high-quality dark chocolate bar (60% cocoa or higher) for those glossy pools.
- Space is Key: Only bake 4-6 cookies per sheet. The “rippling” effect requires room for the dough to move outward.
- The Bend Test: A perfect thin and chewy chocolate chip cookie should be able to bend slightly between two fingers. If it snaps, it is overbaked. If it falls apart, it needs 1 more minute.
Storage, Reheating & Freezing
Store these cookies in an airtight container at room temperature for up to 5 days. To maintain the chewy texture, place a small piece of white bread in the container; the cookies will absorb the moisture from the bread.
To freeze, scoop the dough into balls and freeze on a tray before transferring to a bag. You can bake from frozen, but you may need to “bang the pan” more frequently to achieve the ripples. If you have leftover dough, consider using it as a topper for cookie dough overnight oats.
What to Serve With This
These cookies are incredibly rich, so they pair best with a cold glass of whole milk or a bitter espresso to balance the flaky sea salt garnish. If you are hosting a dessert party, they look beautiful served alongside salted brownie crinkle cookies for a study in different chocolate textures.
Frequently Asked Questions
While you can use chips, they contain stabilizers that prevent them from melting into the glossy liquid pools seen in the photos. For the best visual and textural result, use a chopped dark chocolate bar.
The ripples are created by ‘pan-banging.’ Lift one side of the baking sheet and drop it firmly against the oven rack every 2 minutes during the last half of baking. This collapses the center and creates those beautiful concentric rings.
This usually happens if there is too much flour or if your butter was too cold. For thin and chewy chocolate chip cookies, ensure you use melted brown butter and measure your flour by weight (grams) to avoid a cakey texture.
Flaky sea salt balances the high sugar content and the richness of the brown butter. It enhances the flavor of the dark chocolate and provides a professional, gourmet finish.
The Ultimate Thin and Chewy Chocolate Chip Cookie Recipe
thin and chewy chocolate chip cookies with Brown Butter and Sea Salt
Ingredients
Equipment
Method
- Melt butter in a saucepan over medium heat. Cook until foaming subsides and brown flecks appear. Cool for 10 minutes.
- Whisk sugars into cooled brown butter for 2 minutes. Add egg and vanilla; whisk until glossy.
- Fold in flour, baking soda, and salt. Add chopped dark chocolate chunks.
- Chill dough for 30 mins. Scoop 2-tbsp balls onto parchment. Bake at 350°F (175°C).
- At 8 minutes, lift and drop the pan. Repeat every 2 minutes to create concentric circular ripples.
- Remove when edges are lacey and golden. Sprinkle immediately with flaky sea salt.
Notes
Use high-quality dark chocolate bars, not chips, for the best melting pools.
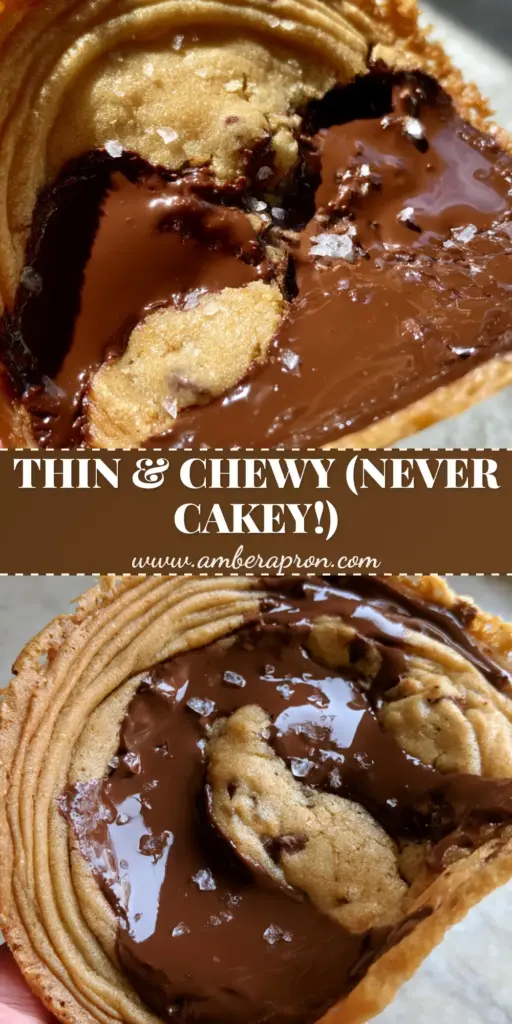
Save This Recipe to Pinterest!
If you love the look of these thin and chewy chocolate chip cookies with their crispy ripples and melted chocolate pools, make sure to Save this Pin to your “Best Desserts” or “Baking Inspiration” board! Follow amber_apron for more elite baking tutorials. If you make these, upload a photo in the comments below and leave a 5-star rating—I love seeing your concentric ripples!